
How To: Using Drop Shipments In Microsoft Business Central
A drop shipment is when the supplier of the products is shipping them directly to your customer. The process flow is that you create a Sales Order and you link it with a Purchase Order.
To define that the sales order has a drop shipment in business central, create a sales order as normal. Define the customer and move on to the Sales lines and select the Item you are selling.
Need Help With Microsoft Business Central?
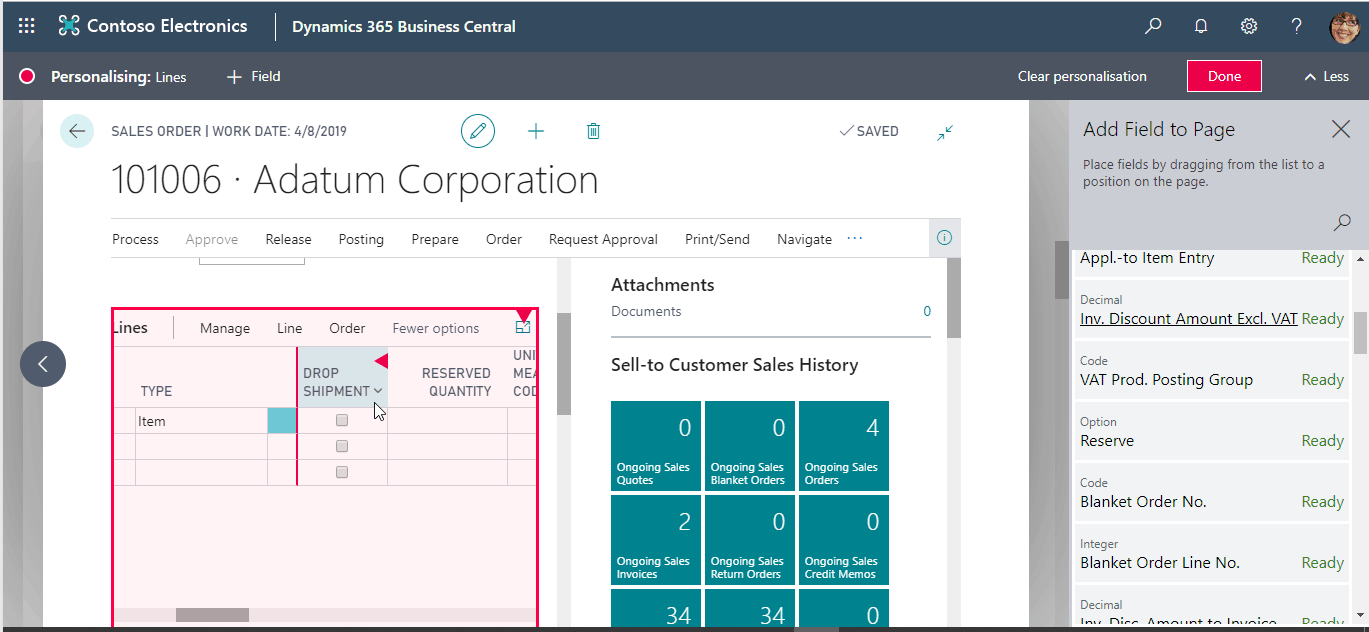
On the Sales lines you will need to check the Drop Shipment check box. The Drop Shipment column is not visible, so you will need to personalize the page and add the column.

Now that the Sales order is ready you will need to create the Purchase order. Create a new Purchase Order as normal but don’t create any purchase lines.
On the Shipping and Payment fast tab, change the Ship-to field to “Customer Address” and then choose the Customer.
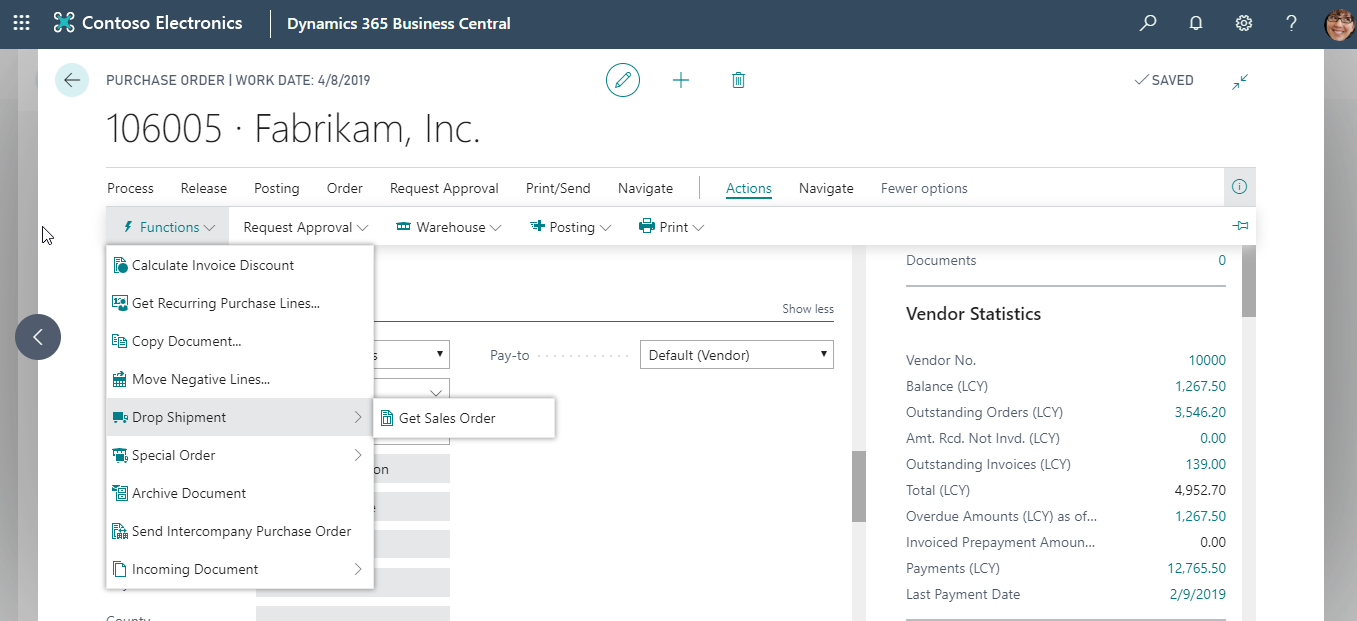
Now that you have defined the customer go to the command bar and select Actions – Functions – Drop Shipment – Get Sales Order.
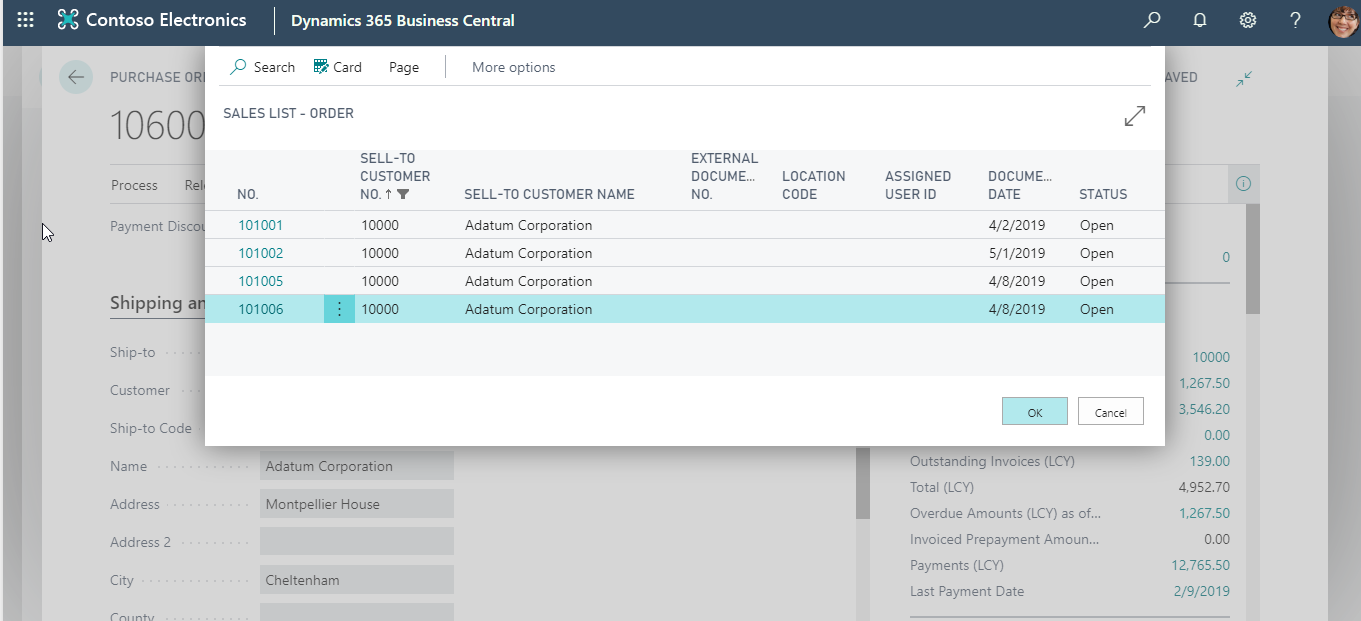
Select the Sales Order you created from the sales order list.
As soon as you select the Sales Order the Purchase Line will be created from the sales line.

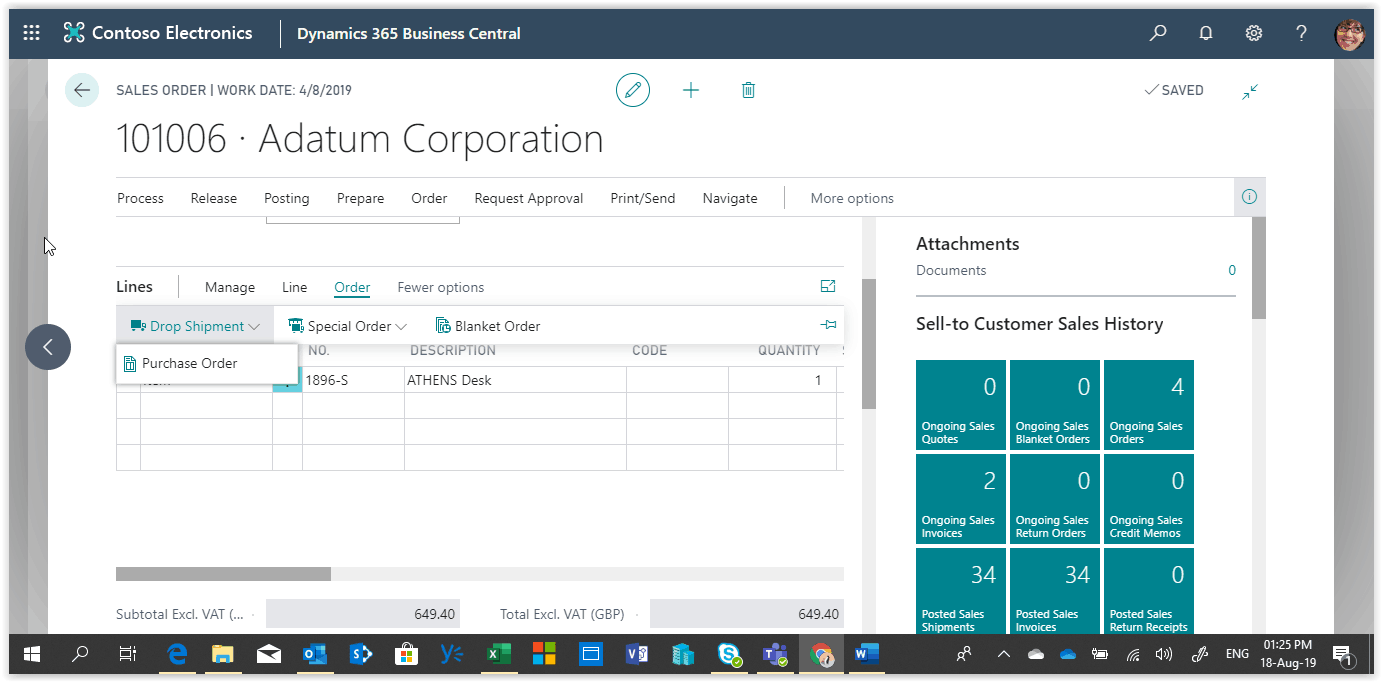
If you want to check the Purchase order from the Sales Line, select the Drop Shipment Sales Line and go to Order – Drop Shipment – Purchase Order.
To post the Drop Shipment you can either post the Sales order or receive the Purchase Order. The Purchase order cannot be invoiced until the sales order is posted.
When the Sales Order is shipped the Purchase order will automatically be received. You can now Invoice the Purchase Order.
