
How to: Setup Item Categories In Microsoft Business Central
Trading companies usually handle a large number of products. In Microsoft Business Central there is a way to organize your products into groups and make it easier to handle in respect of sorting, Searching and report filtering. To organize your products into groups you will use the item categories.
Need Help With Microsoft Business Central?
To create a new Item Category, choose the search icon at the top right of the screen, type “Item Categories” and choose the Item Categories link on the search results.


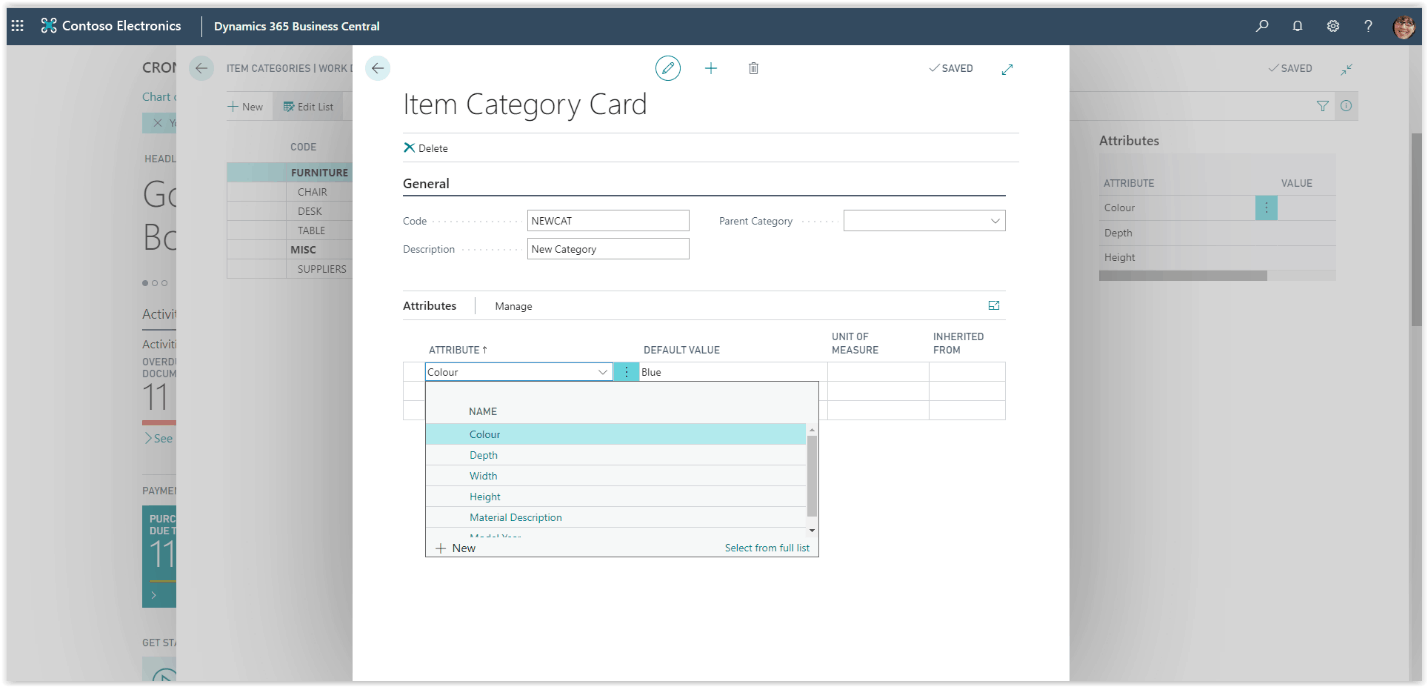
On the Item Categories page press New to create a new item category. On the newly created Item Category fill in the fields. First, insert a code and a description for the item category.
You can use the Parent Category field in the general fasttab, if you want to create hierarchical categories by selecting a parent category for the one you have just created.
Next you can assign attributes on the Item category. If you have defined a Parent Category, then any attributes from the Parent category will be inherited here.
The same goes when you assign the Item Category to an Item, the item will inherit the attributes
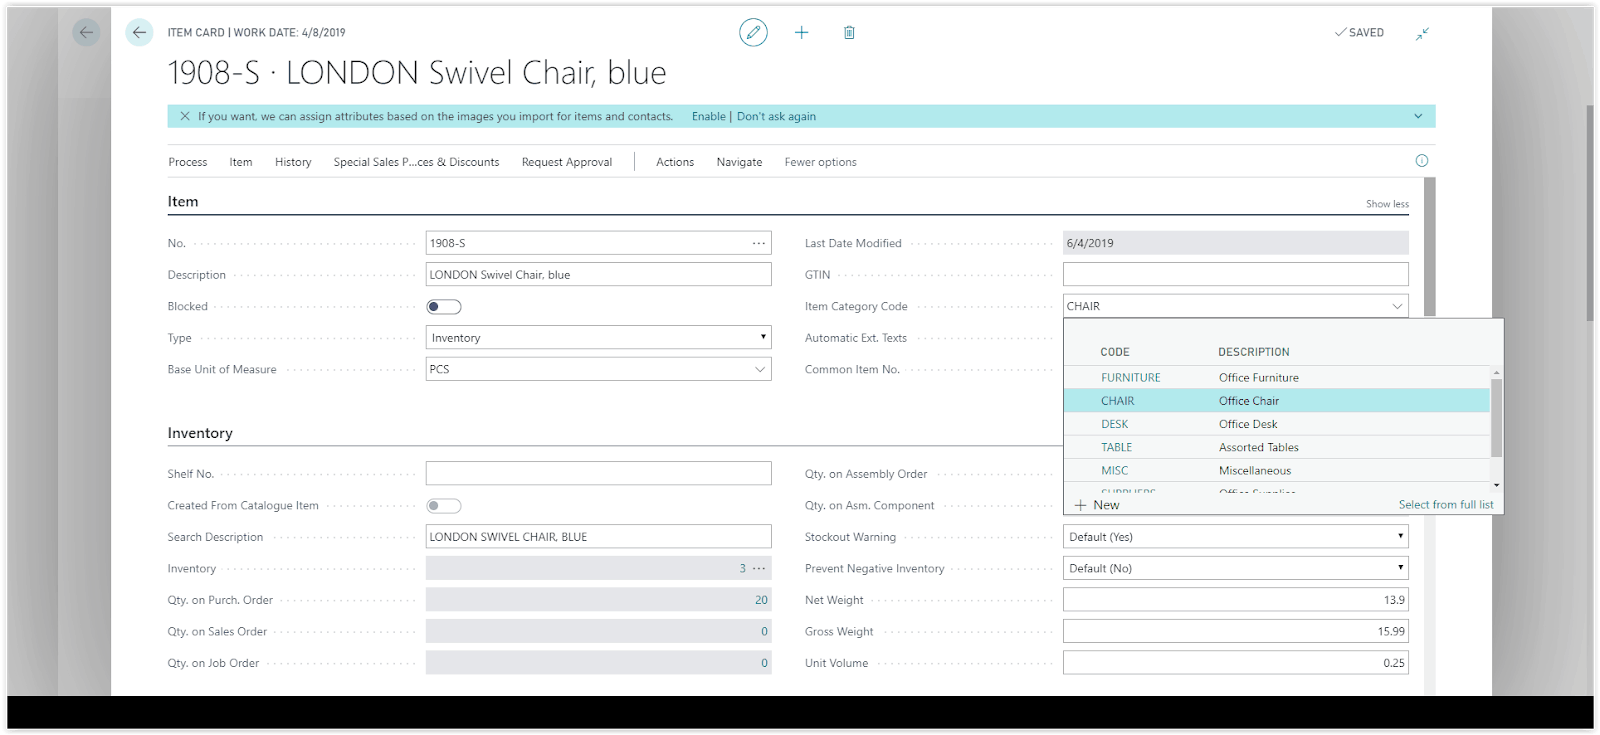
Now that you have created the Item Category, lets assign it to an item. Navigate to the item list and select the item you want to include in the item category.
In the Item Fasttab find the field Item Category Code and define the category for the item.