
How To: Setting Up Document Sending Profiles In Microsoft Business Central
To send documents to your customers in Microsoft Business Central you will need to setup “Document Sending Profiles”.
These profiles are then assigned to each customer to define how you will be sending them their documents. If a profile is not assigned, then you will need to have a Default profile to be use.
Need Help With Microsoft Business Central?
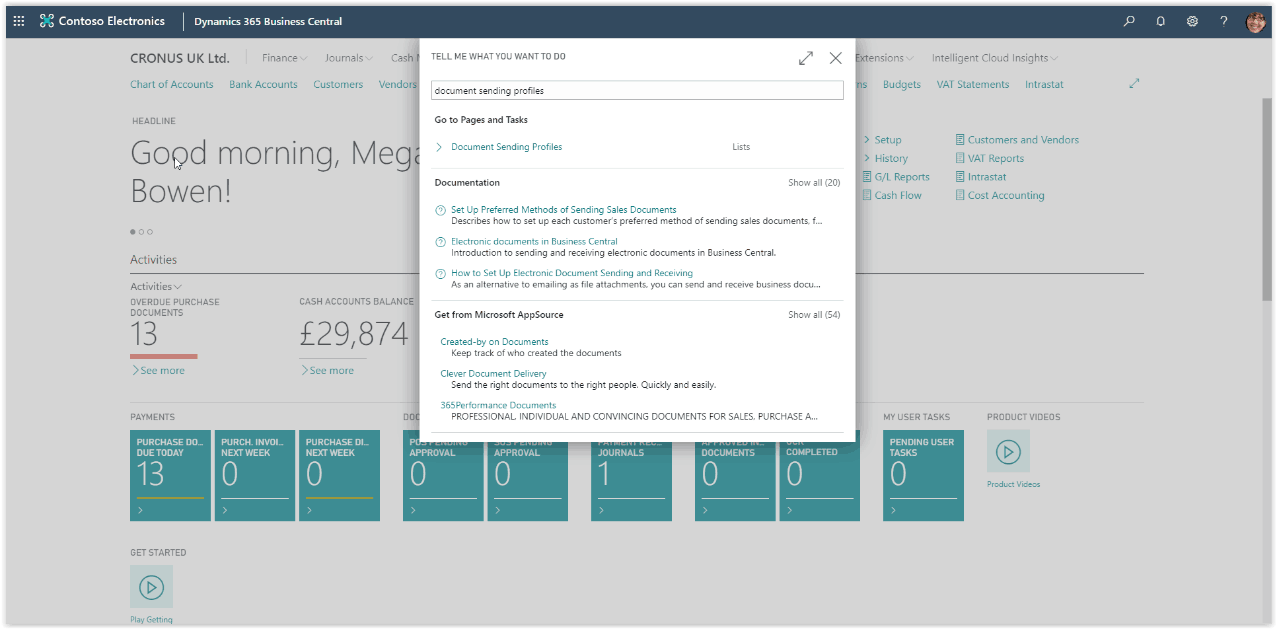
To Setup Document sending profiles, choose the search icon at the top right of the screen, type “Document Sending Profiles” and choose the Document Sending Profiles option in the search results.
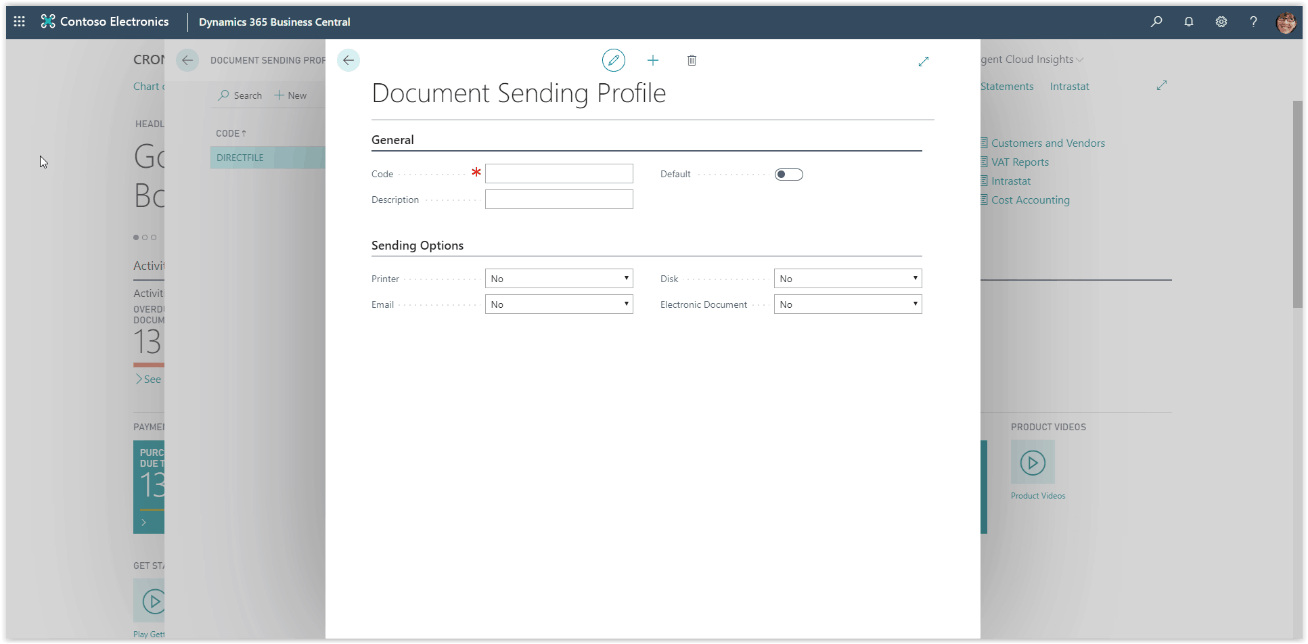
Press New on the Document Sending Profile page to create a new profile.
The document sending profile card will open, define the code and description of your new profile.
Enable the Default checkbox if you want the Document Sending Profile to be used by all customers that you haven’t defined a profile. Next setup the sending options.
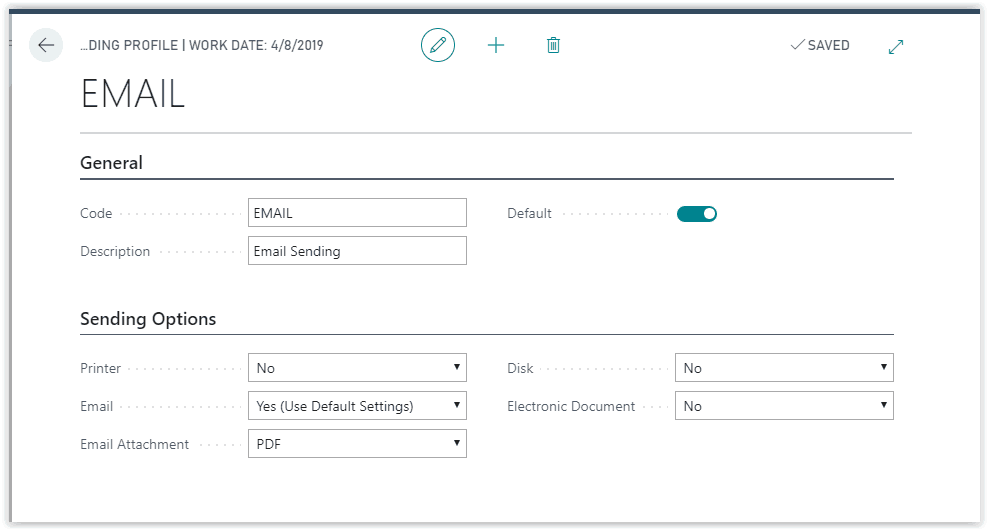
For the Printer and Email options you can choose whether to Use the default settings or Prompt for settings every time.
If you enable the Email option then a new field will appear, Email Attachment, where you set in what format the document will be attached on the email.
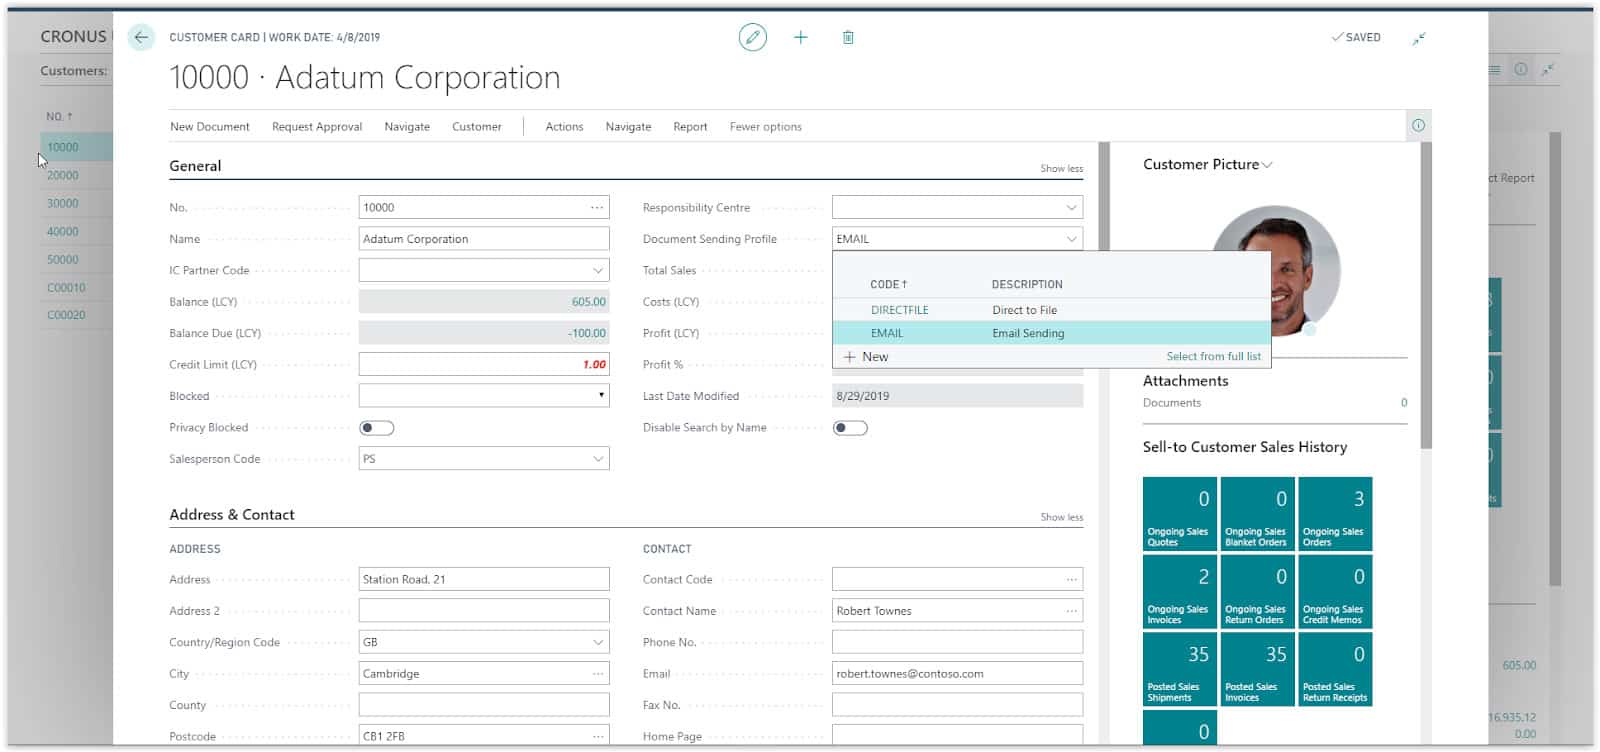
After you set up the Document Sending Profile you will need to assign it to customers.
Open the Customer Card and on the General FastTab, choose the Document Sending Profile.
As we mentioned before, if you don’t assign a profile the system will use the Default option.