
How To: Setup a Customer Approval Workflow In Microsoft Business Central
Companies want to control who can create a new record or to define a value in a specific field of a record, so in Business Central we have the Approval Workflows to control these cases. A user will try to create or edit a record and a restriction will be applied so that the record cannot be changed.
In order to remove the restriction, the user will need to request for Approval or the system will automatically initiate an approval request. Before using the approval workflows, you will need to define the approvers in the Approvers User Setup.
Need Help With Microsoft Business Central?
In this session we will focus on the Customer Approval Workflows and how to create and enable them.
Search and find the Assisted Setup page. Choose the Set up a Customer Approval Workflow to initialize the wizard.

Press Next to move to the next step.
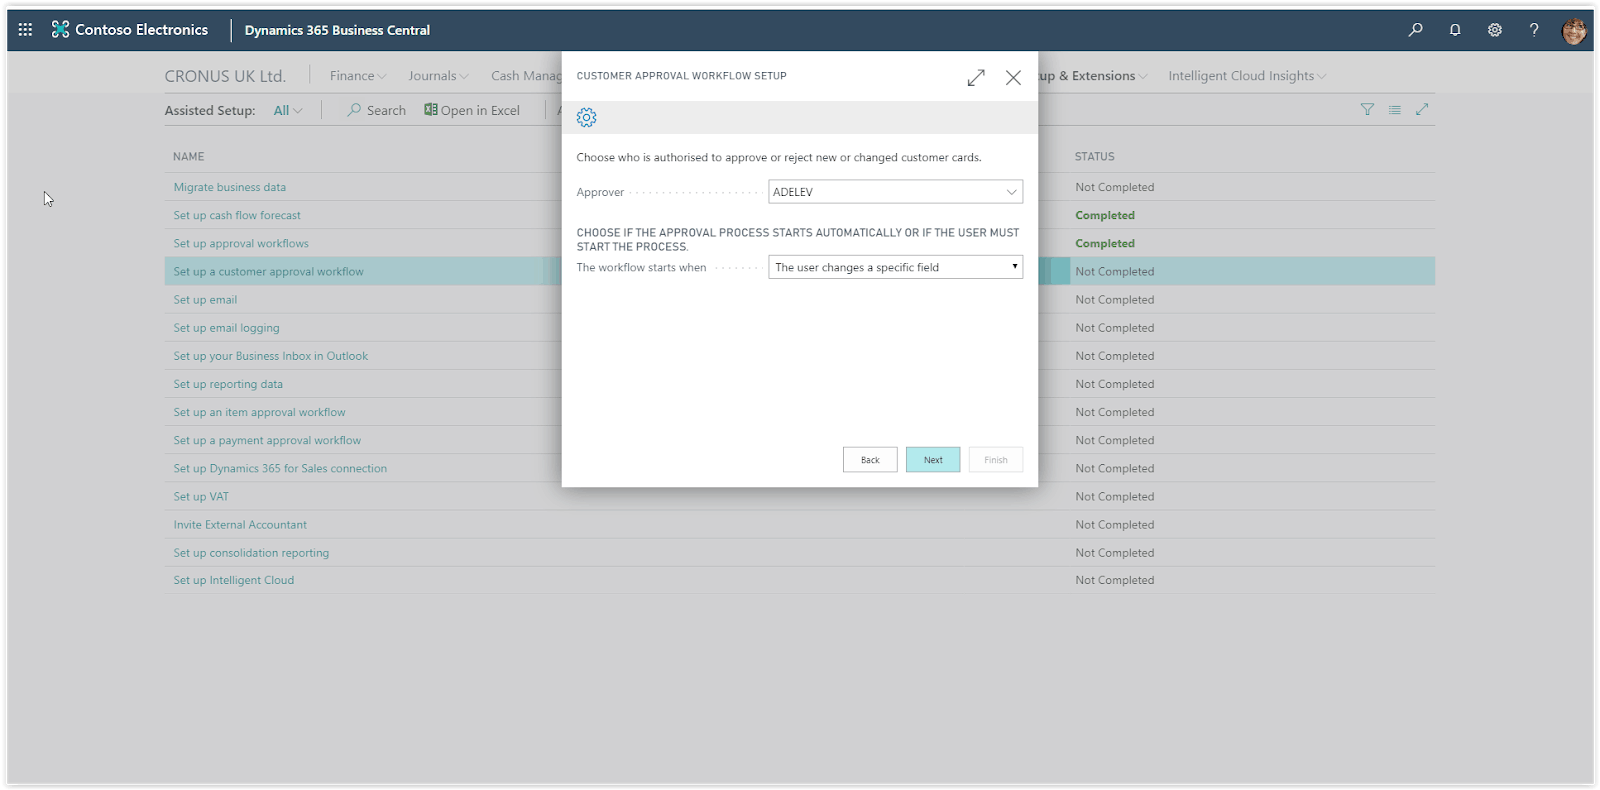
Define the approver and when the workflow will start. There are two options to choose from, “The user sends an approval request manually” or “The user changes a specific Field”.
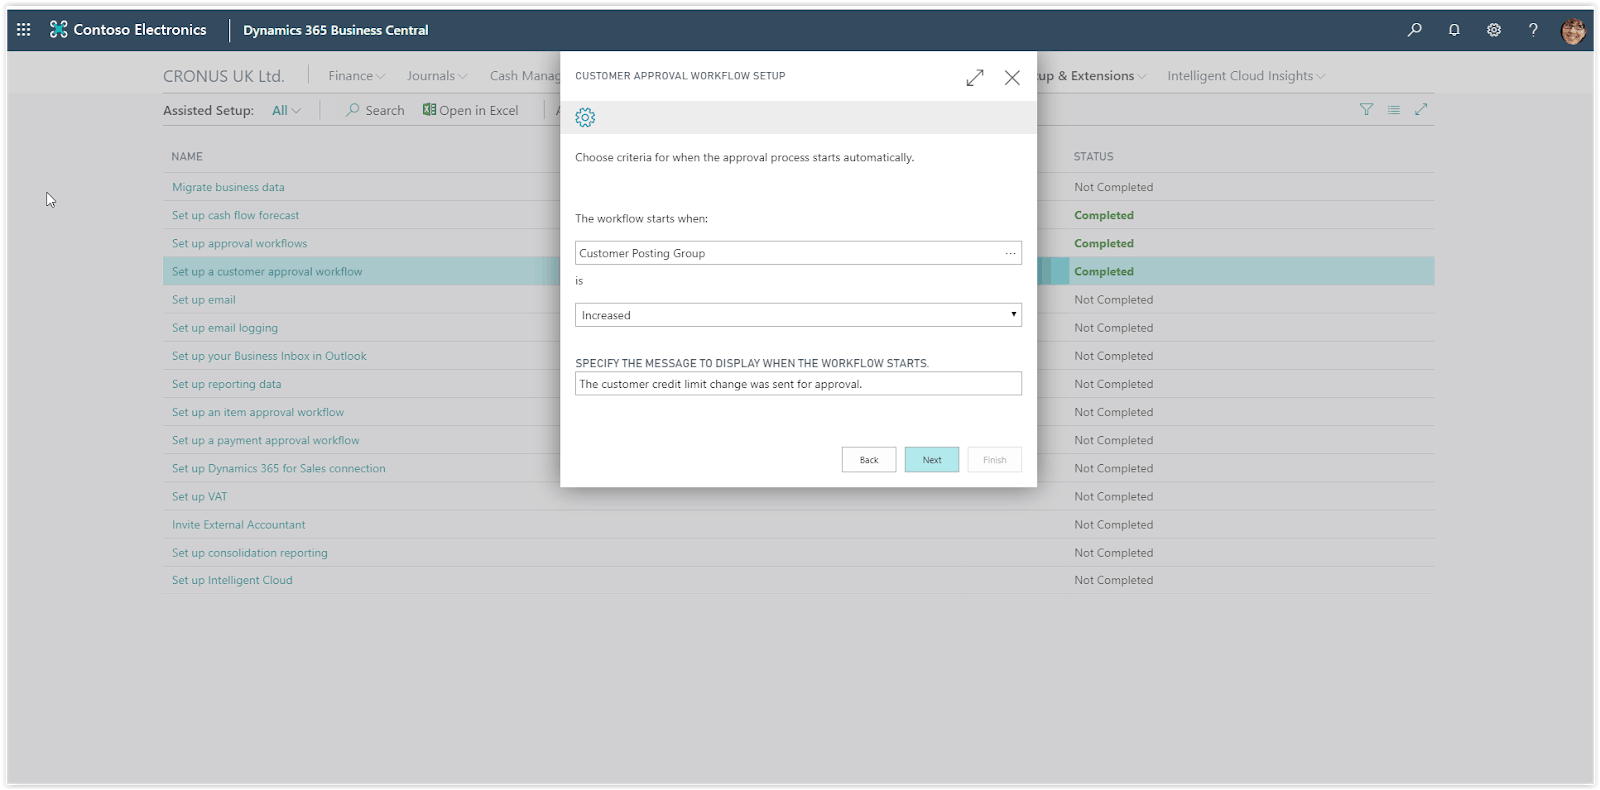
If you choose the second option, then on the next step you will need to define the specific field that will trigger the workflow. Additionally, on this page you can specify the message to display when the workflow starts.
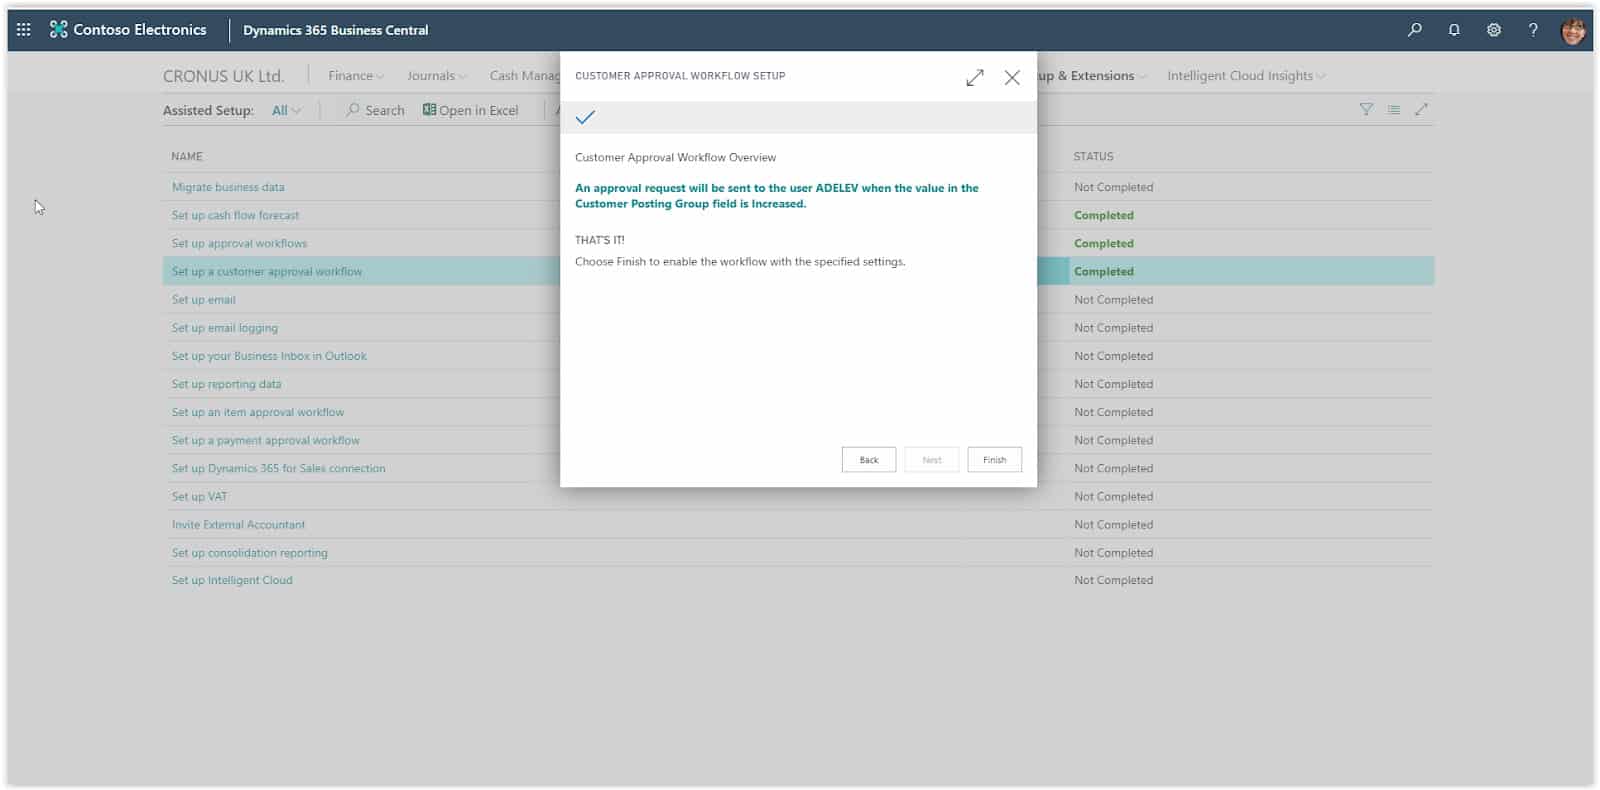
Press next and then Finish to enable the workflow. The Workflow is ready.
In case you want to make changes to the workflow, choose the search icon at the top right of the screen, type “Workflows” and choose the Workflows option in the search results. In the Workflows list you will find the Customer Approval workflow created.