How To: Creating Purchase Orders In Microsoft Business Central
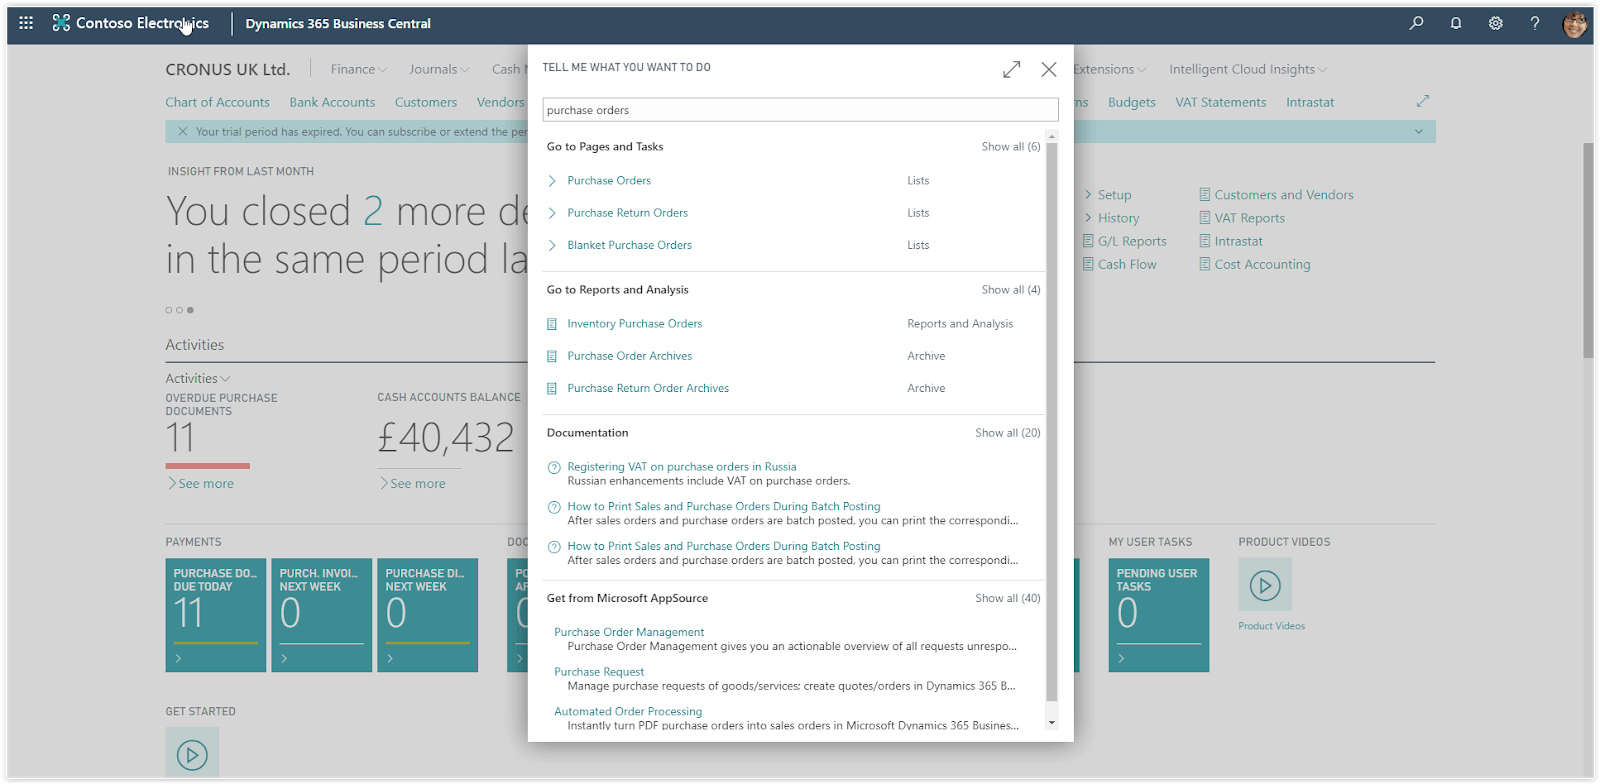
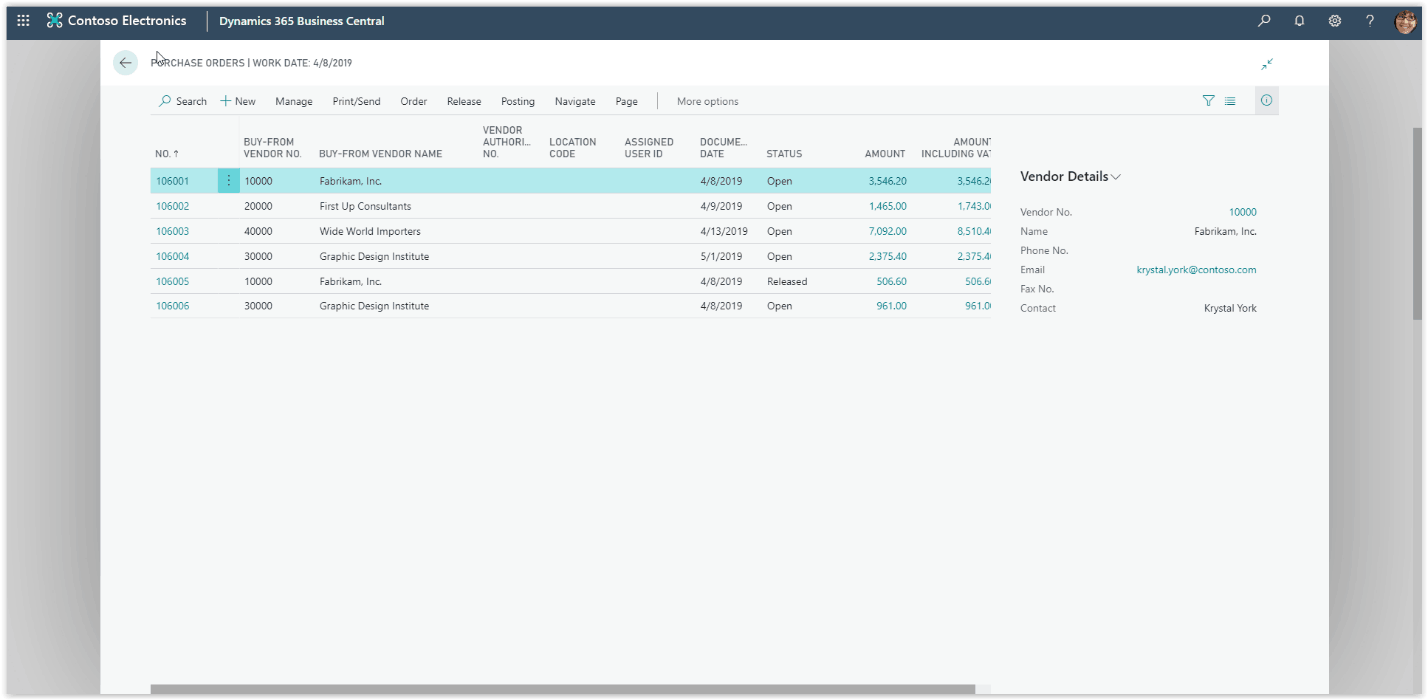
Purchase documents are used to register the cost of purchases and to track the accounts payable. In Dynamics 365 Business Central to record a purchase you can use the Purchase Invoice or the Purchase Order. The Purchase Order is used in the cases the supplier is partially shipping your order.
Need Help With Microsoft Business Central?
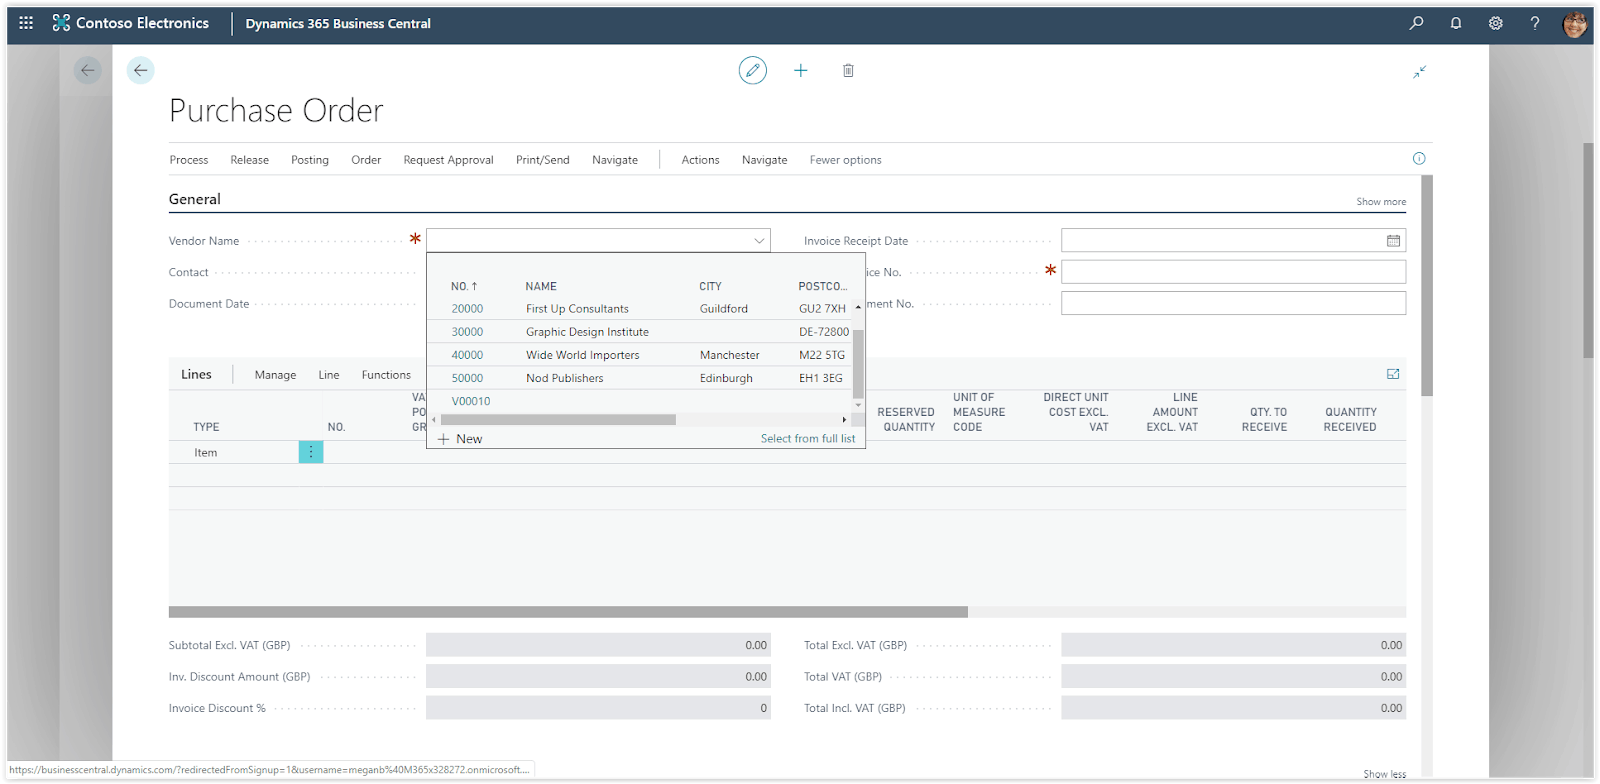
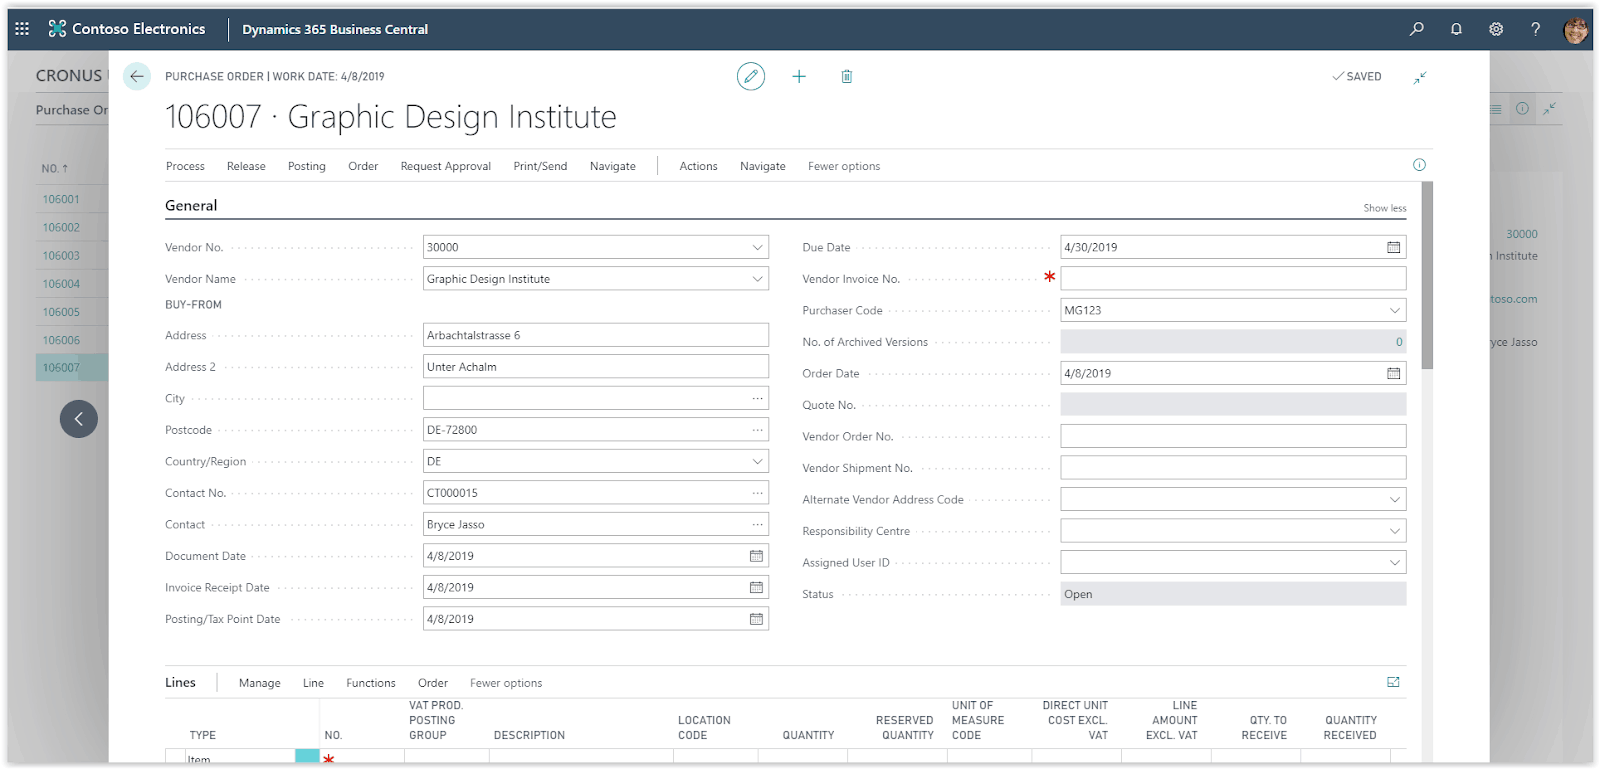
On the newly created Purchase Order choose the Vendor. When the Vendor is selected, all related fields on the purchase header will be updated with information from the Vendor.
The vendor address information, contact information, the payment terms and of course the posting details are all copied from the vendor card.
You can edit this information if required. Additional fields that are filled in automatically are the Date fields which are populated based on the work date. You can edit the date fields accordingly, the Order Date defines the date the order was created in the system, the Document Date defines the date the related document was created.
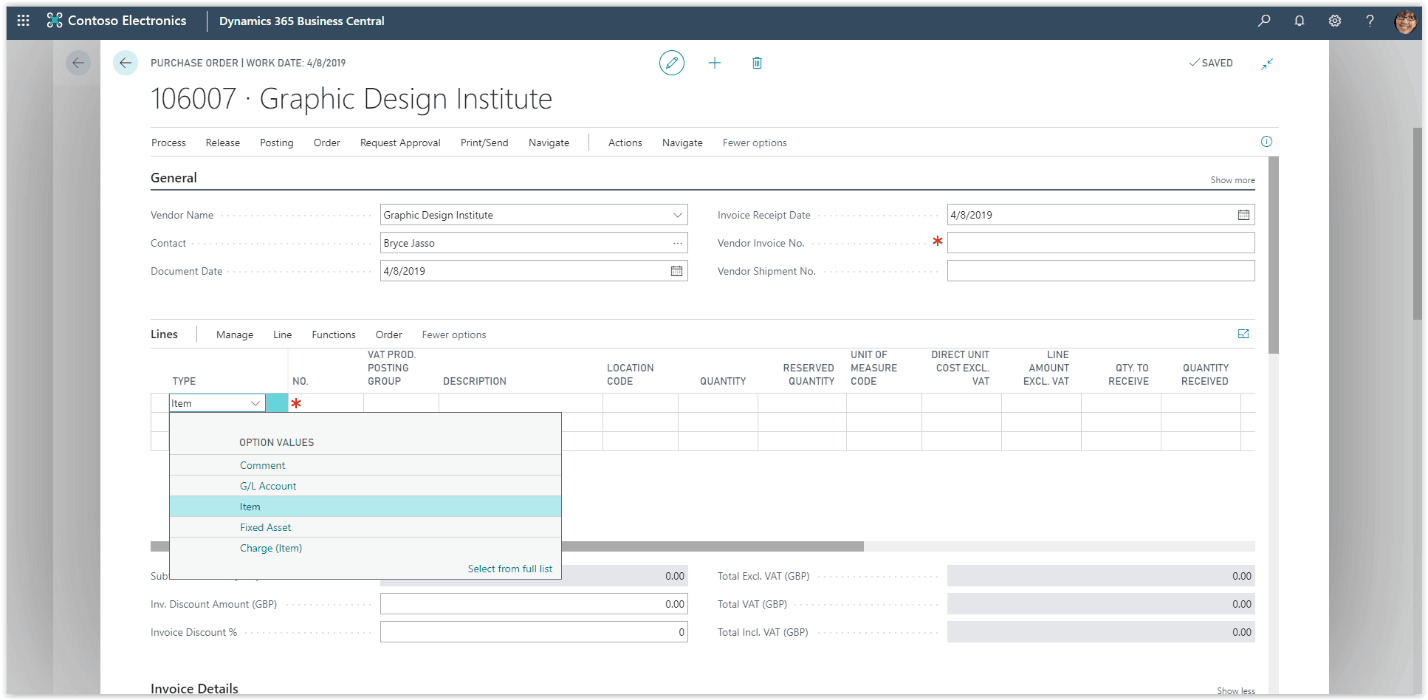
The Due date will be calculated based on the document date by the payment terms. After you have finished with the purchase header it is time to add Purchase Lines. For each purchase line you will need to select the type of the line. There are 5 options, Comment, G/L account, Item, Fixed Asset and Charge Item. In the case of items, choose item from the list.
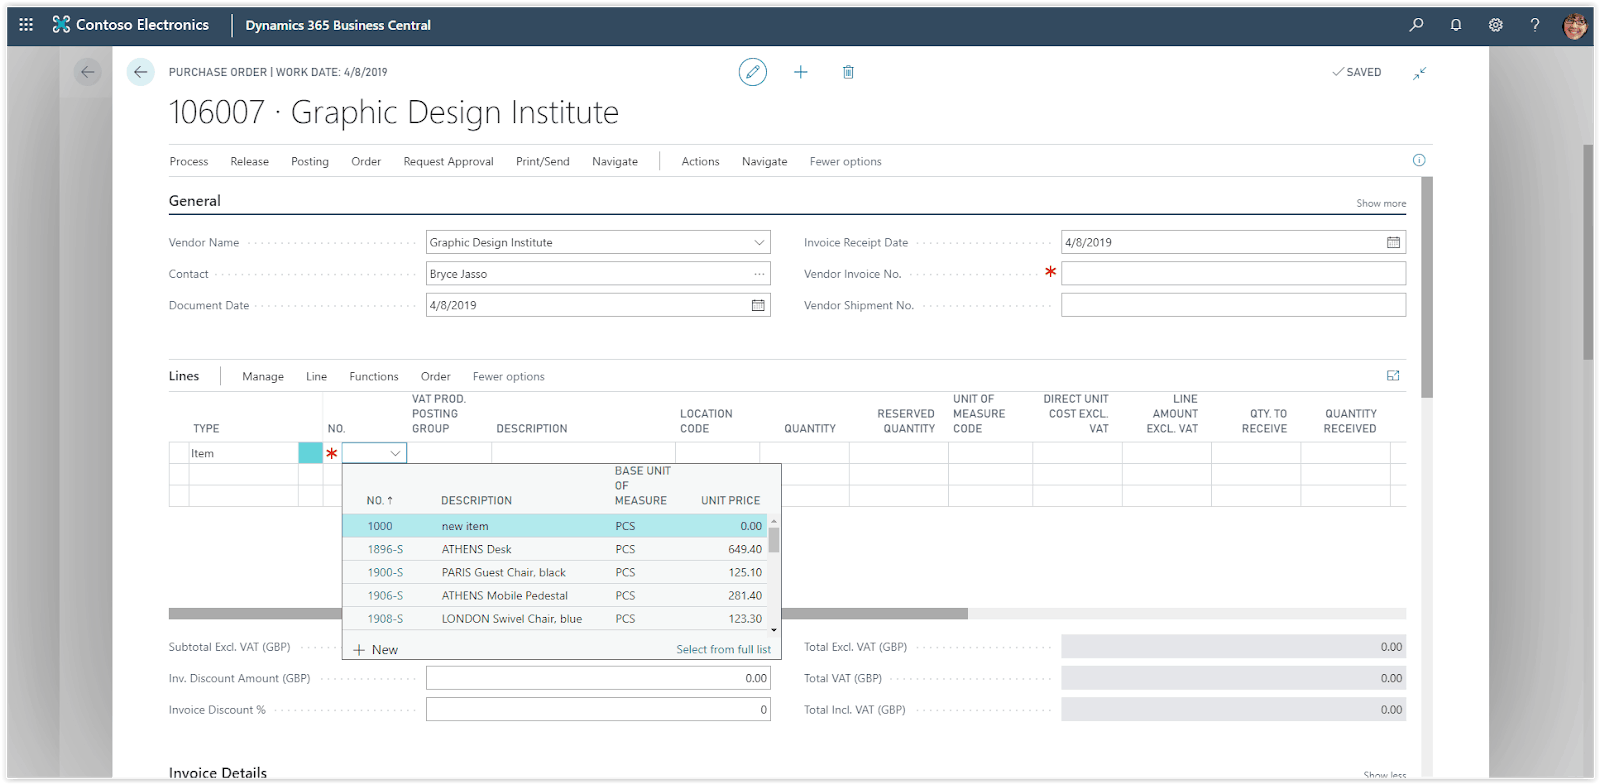
Then choose the No. which defines the specific product.
Selecting the specific item, it will update specific fields on the line from the item card. The Direct Unit cost, unit of measure and the posting information are some of the fields that are updated.
Define the Quantity and make sure you have the correct Direct Cost. Add more purchase lines if required, the Purchase Order is ready to process.

