How To: Adjusting Inventory Levels (Physical Inventory) In Microsoft Business Central
At the end of a fiscal year, companies need to run a physical stock count to check the differences between their physical inventory and the inventory registered in their system.
Apart from the once per year required stock take you might want to count some of your stock more often or even adjust the inventory level of a single item. Dynamics 365 Business Central has all the functionalities to help you manage and control your stock takes.
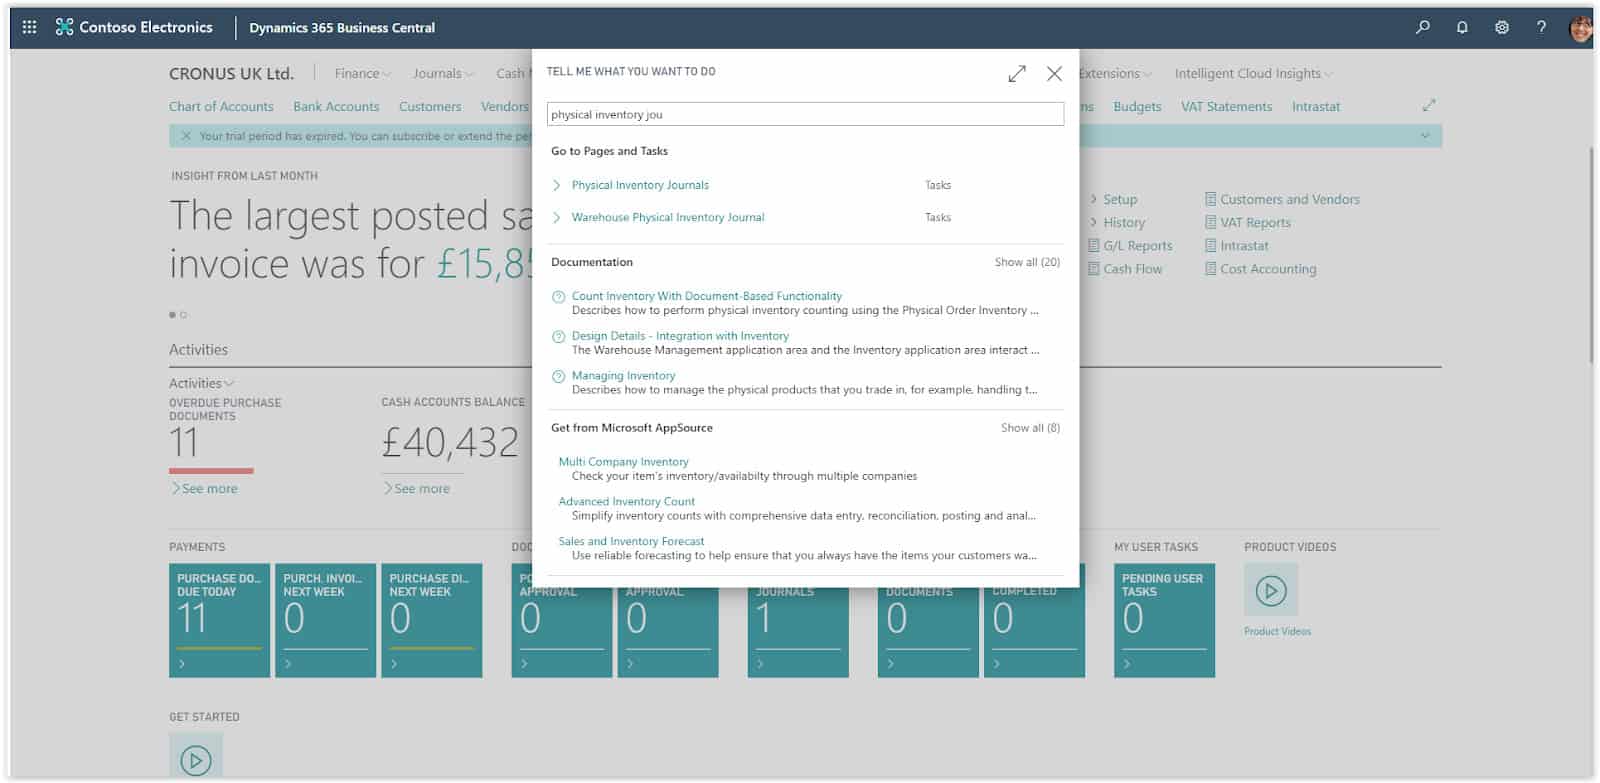
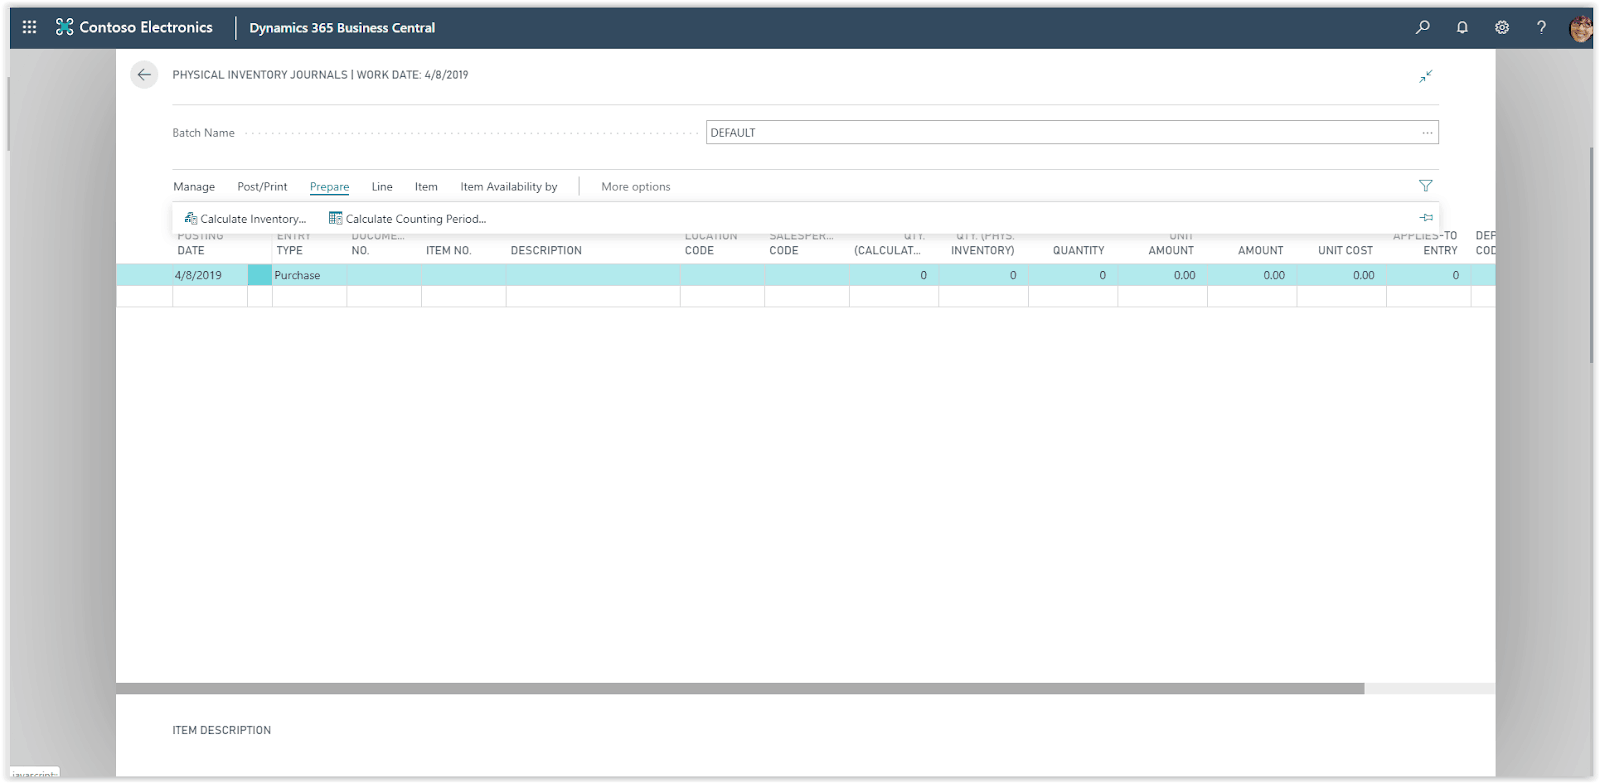
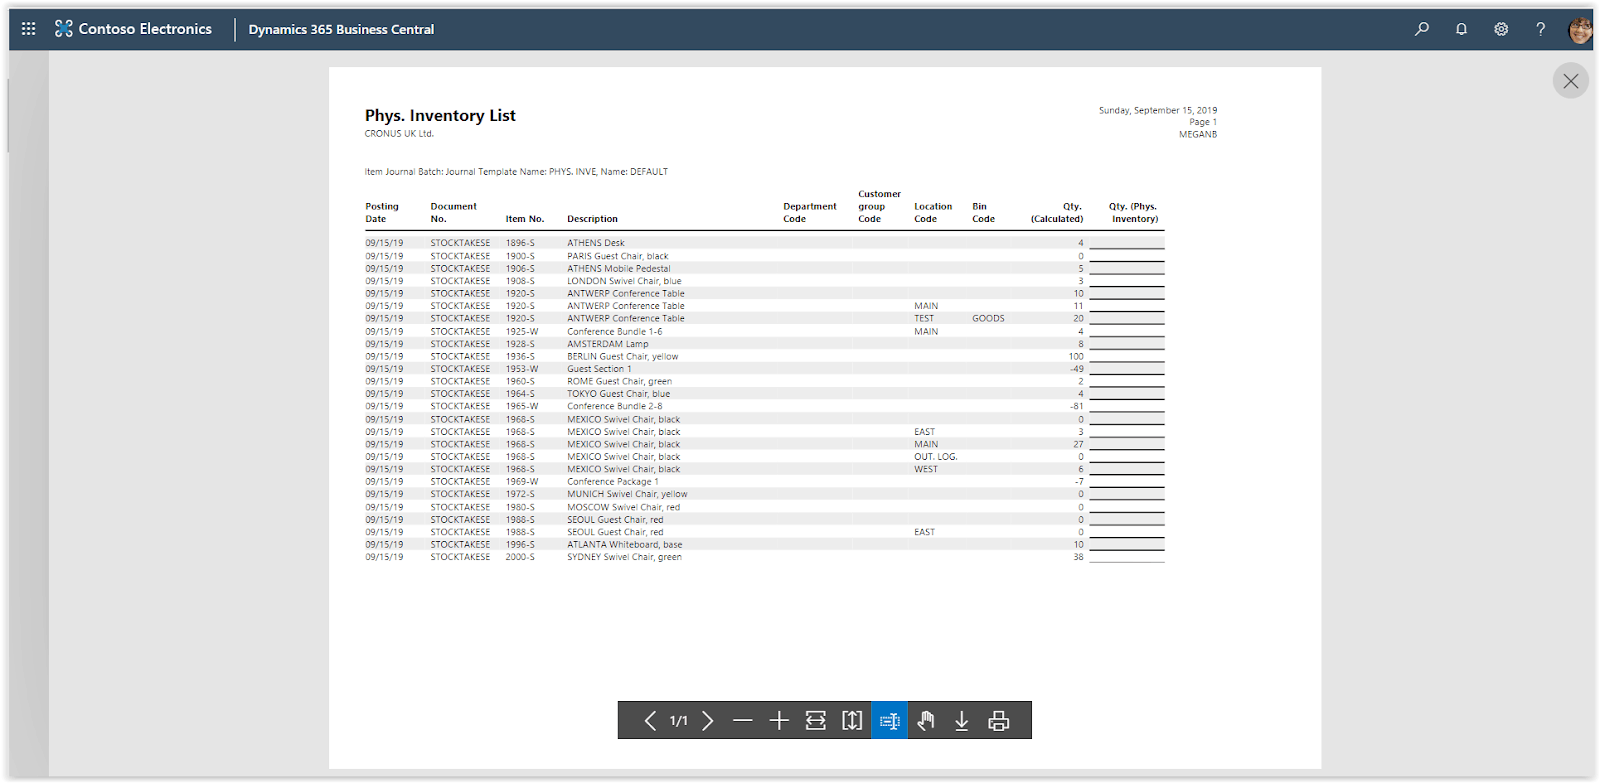
Starting with the physical inventory count, there are three steps that you need to complete. First calculate the inventory level as register in Business Central, then print the report for the stock counting and finally enter the results in the system and post the differences.
Need Help With Microsoft Business Central?
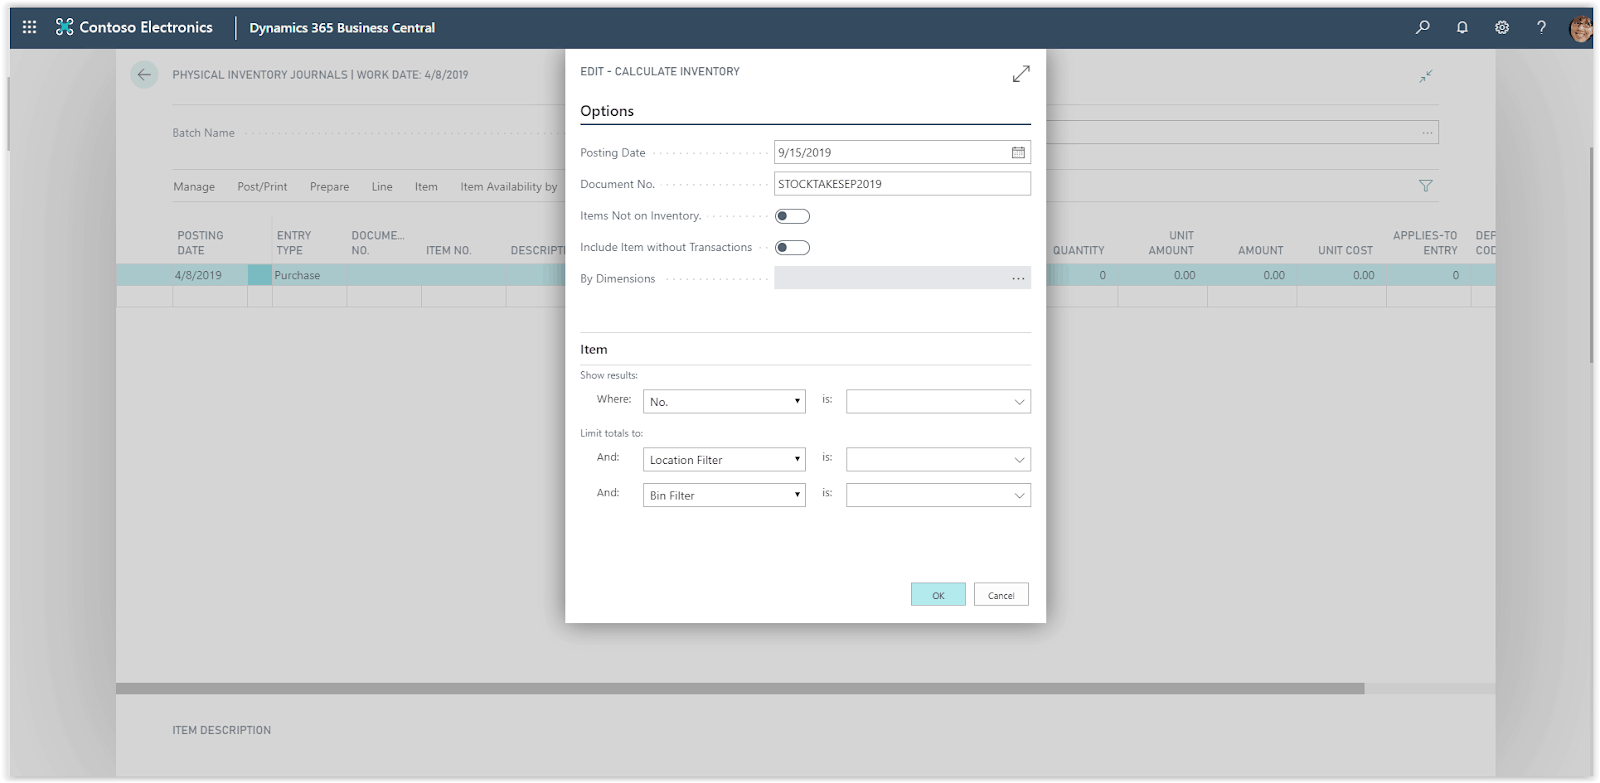
Set the Posting Date which is the date that the journal will be posted, then define a document number for the journal. The next two check boxes define whether you want to include Items not on Inventory and Items with no transactions.
In the Item filtering part you can filter which items to calculate but more importantly you can define the Location filter if you are running the stock take for a specific location.
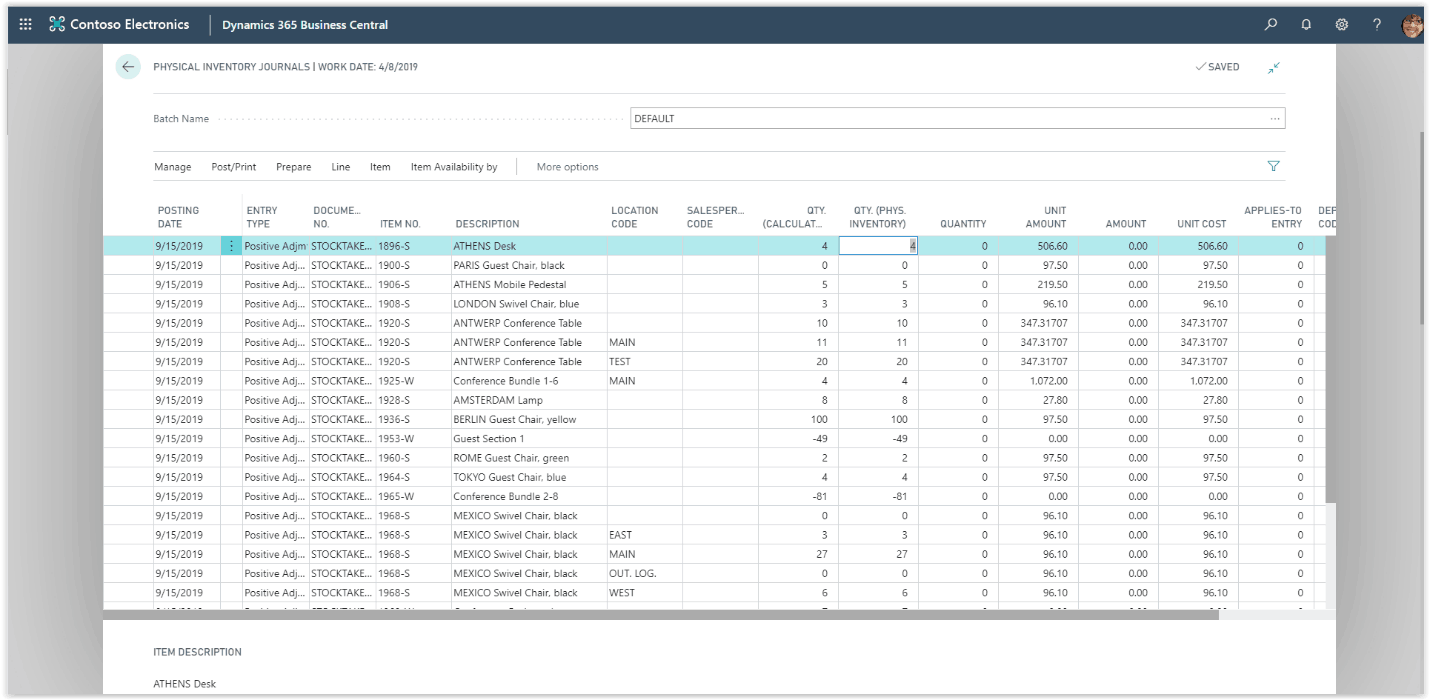
Press OK to run the process. When the process is done, the journal will be populated with the items’ quantity in stock.

